
How to start with Strybai
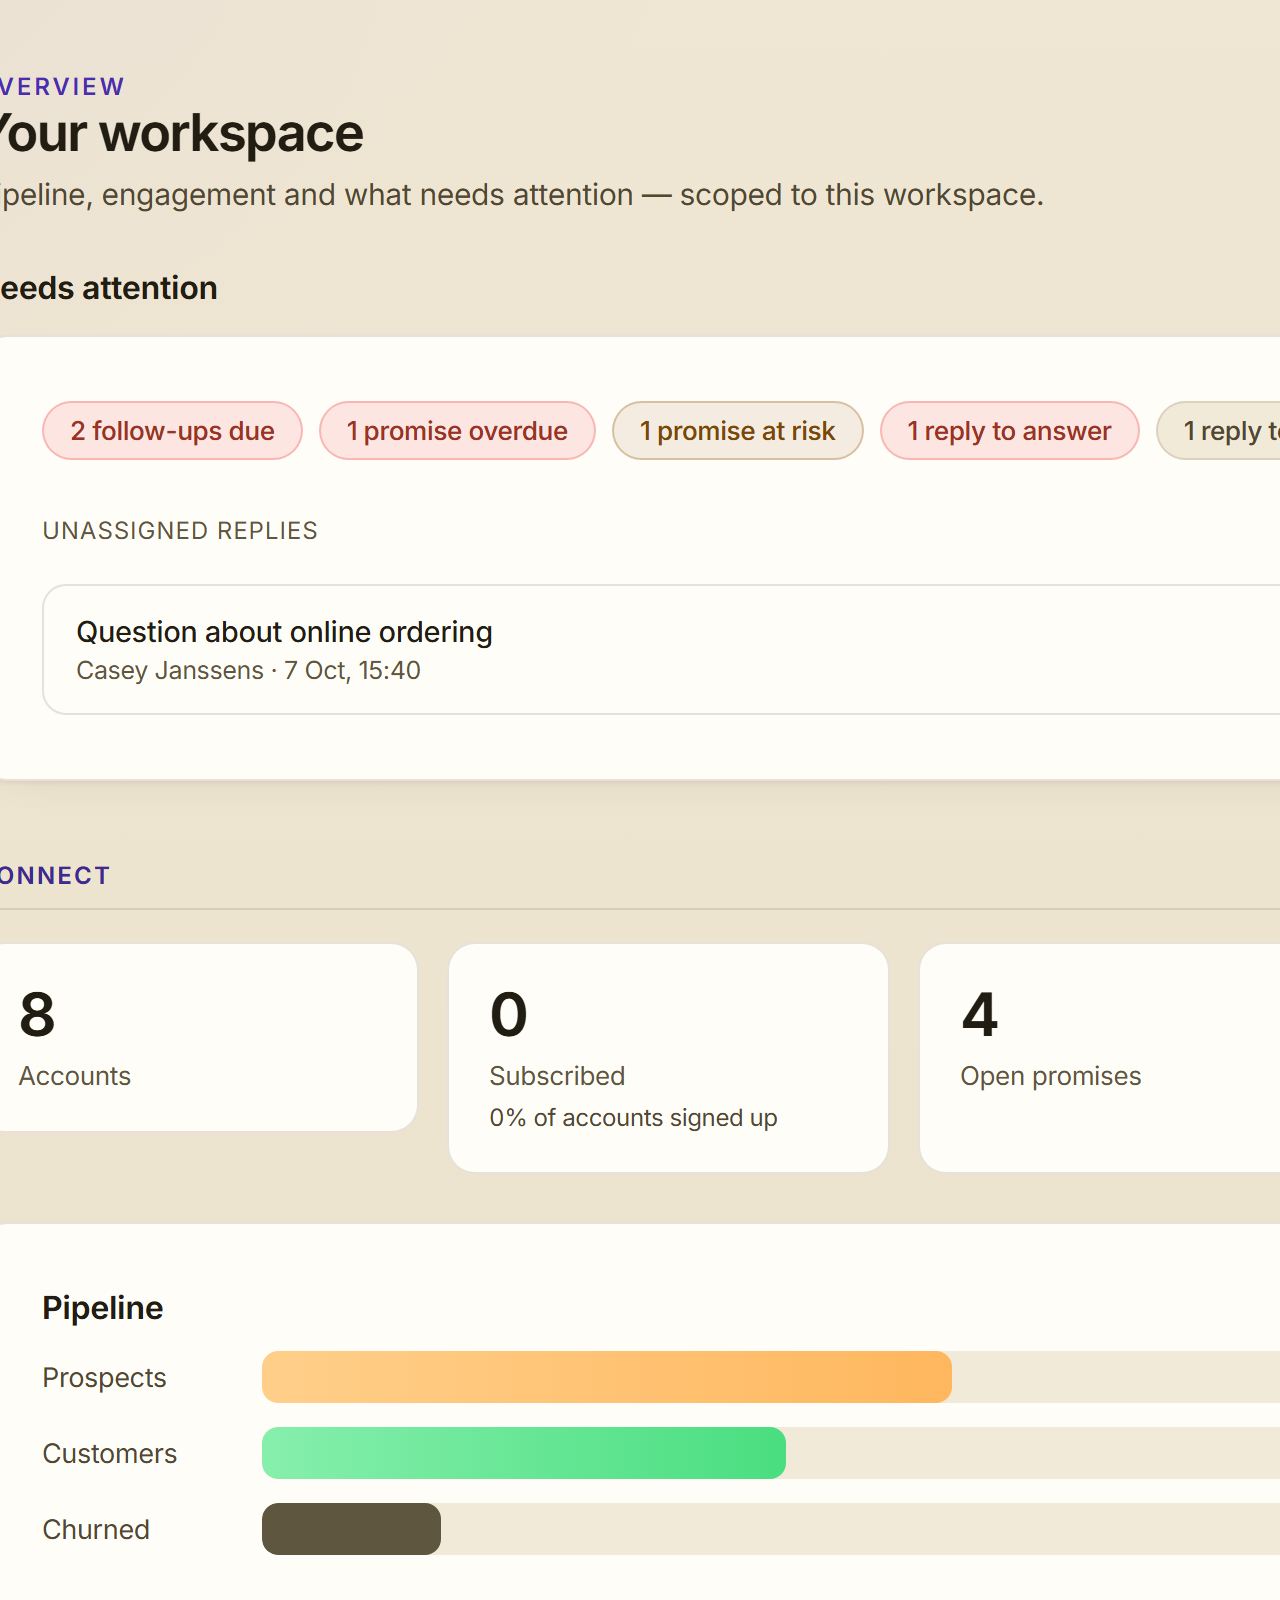
Strybai keeps your customers and the work you do for them in one place. Connect holds your accounts, contacts, emails and promises; Build holds your plans, from big goals down to single tasks. Because they share one memory, every email, promise and task links back to the account it's for.
This guide takes you from an empty workspace to a working setup in about thirty minutes. You don't need to do it all at once: each step is useful on its own.
1. Sign in
Open the invite in your email and choose a password. You land on Overview, your workspace's home. It's quiet now; later it shows what needs your attention: follow-ups that are due, promises at risk and replies waiting to be filed.
2. Tell Strybai about your company
Go to Settings. A few minutes here make everything else smarter:
- About your product: what you sell and who it's for. Paste your website and Strybai drafts this for you; check it and save.
- Market: who you sell to, so prospect suggestions and wording fit.
- Languages: the languages you write to customers in.
- North Star: one line on where you're heading. It sits at the top of your plans in Build.
- Invite by email: bring in your team. Everyone shares the same accounts and plans.
3. Add your accounts
Accounts are the heart of Strybai: companies you sell to, or already work for. Open Accounts and either:
- Add account to create one by hand, or
- Import CSV to bring in a list from your spreadsheet or current CRM. Extra columns can become custom fields.
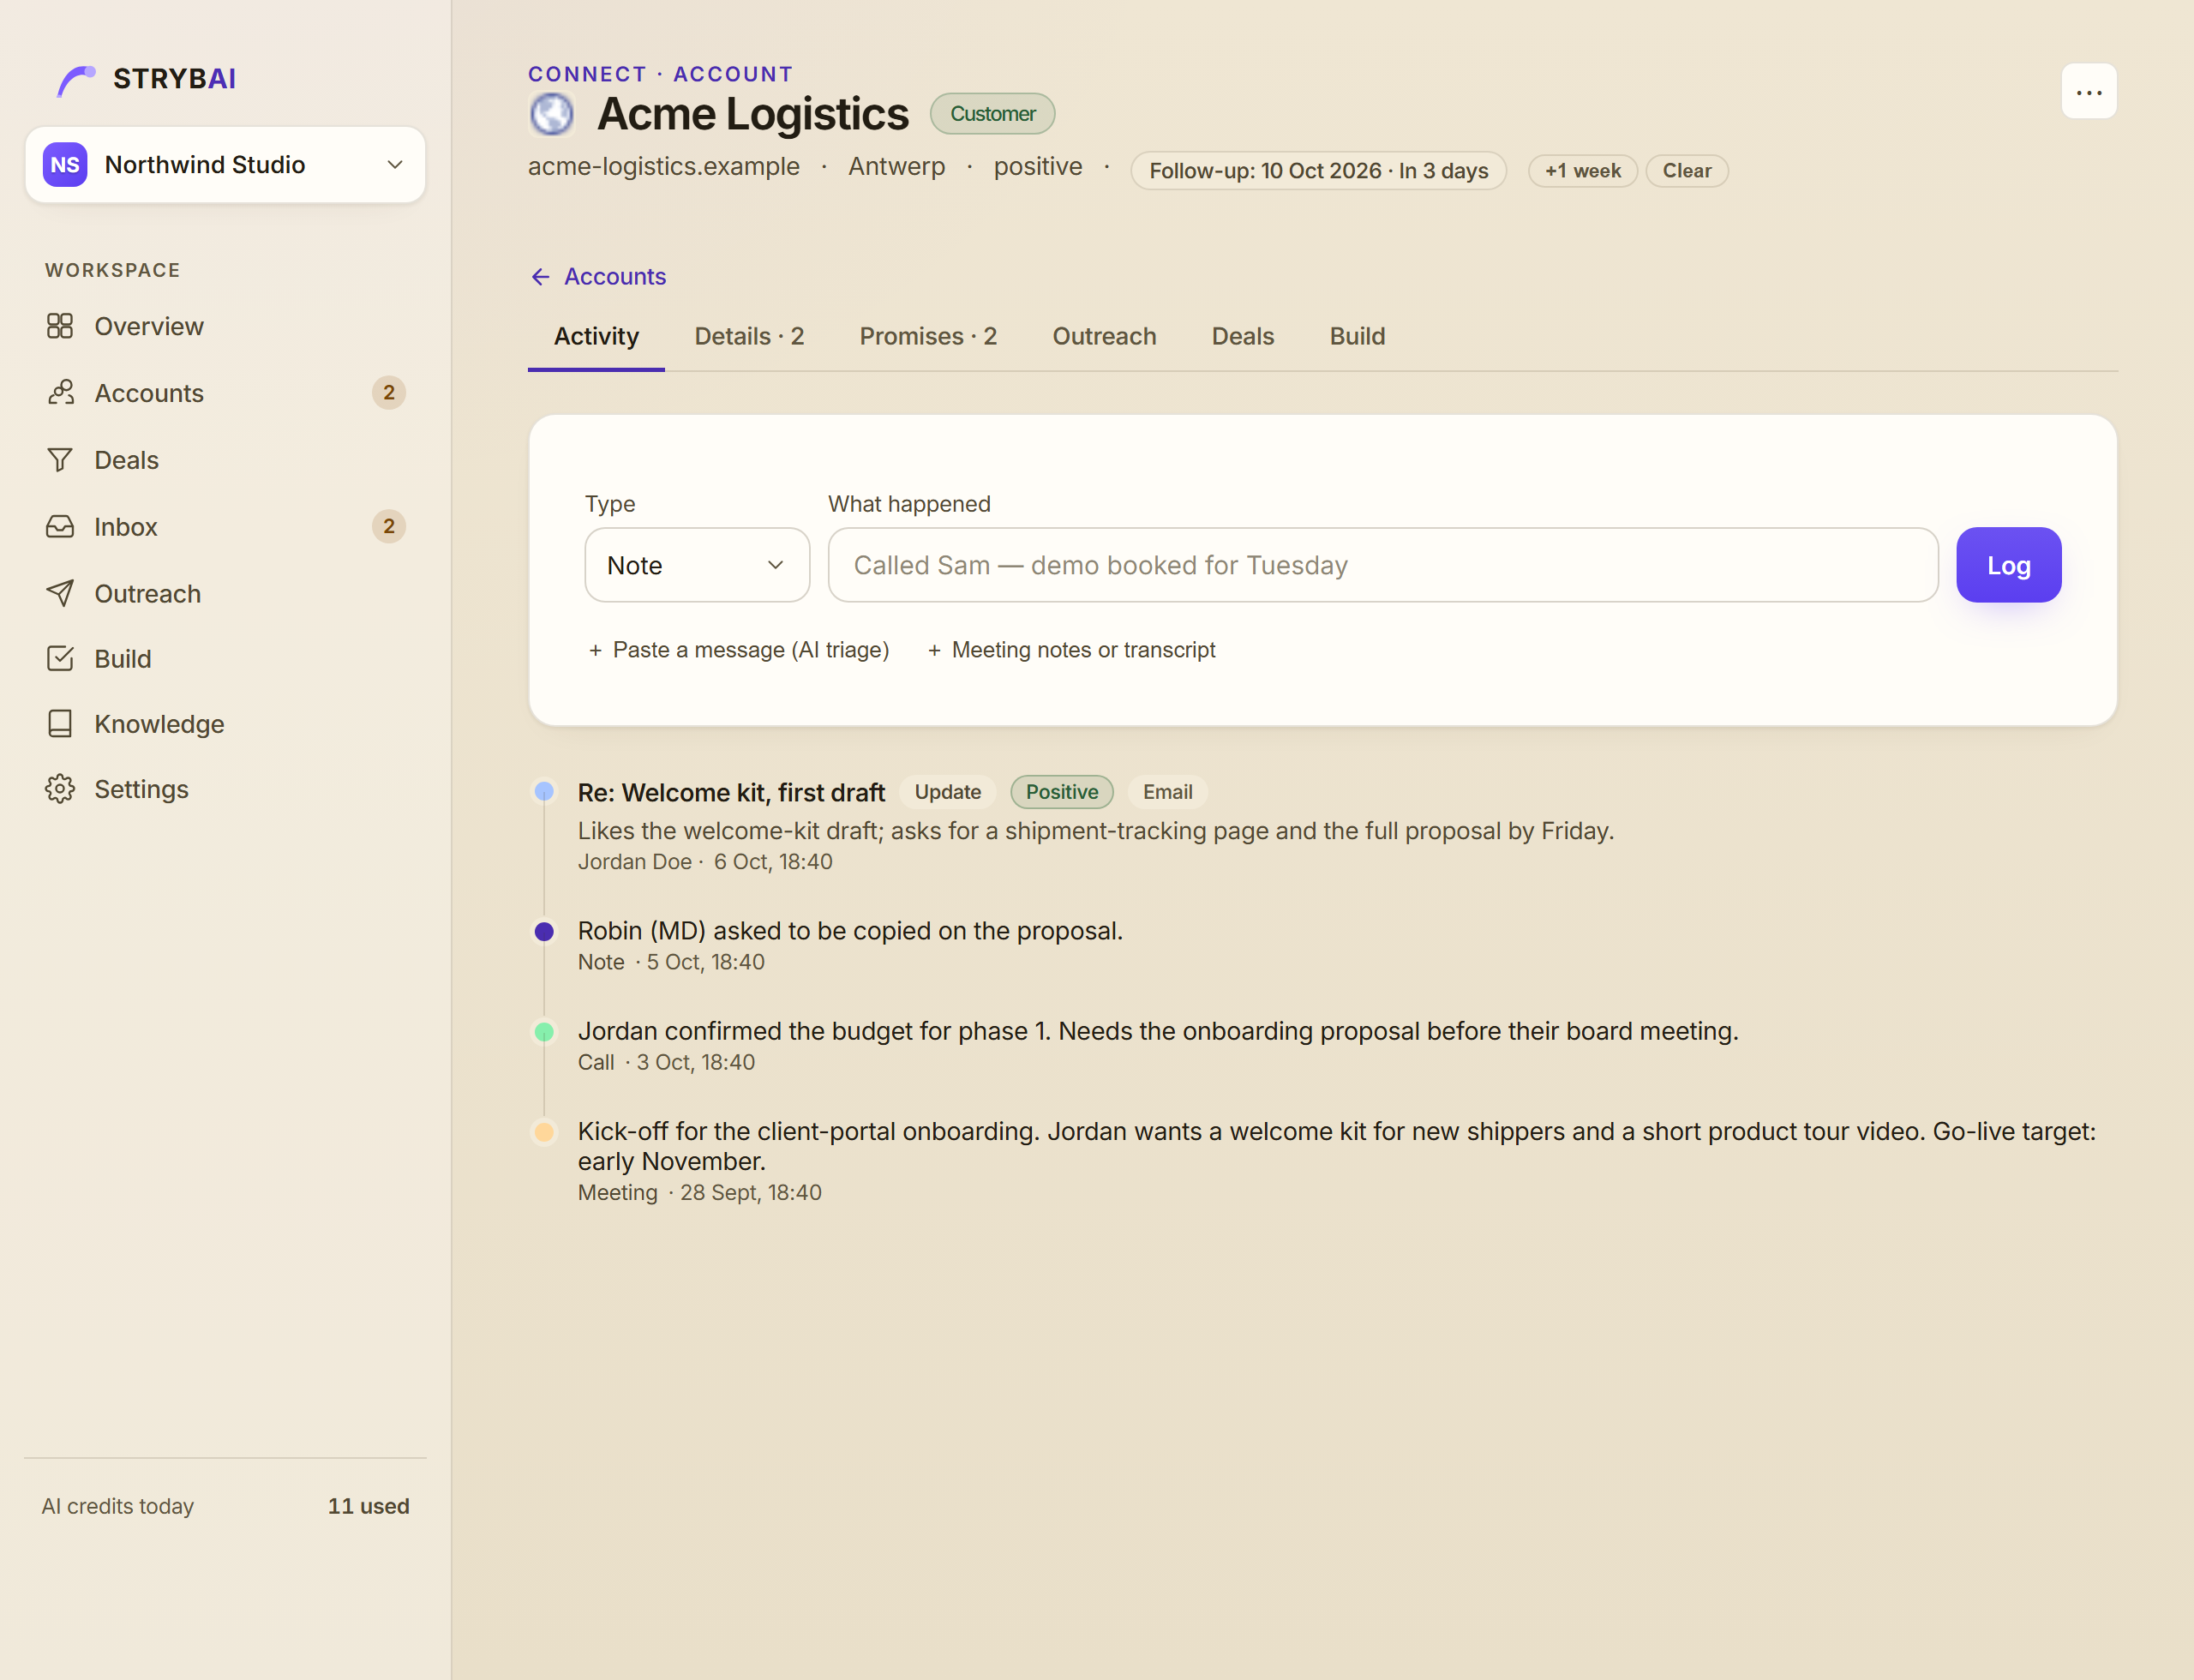
Open any account to see its timeline: contacts, emails, notes, promises and deals, all in one place. Find duplicates tidies up after an import.
4. Bring your email in
In Settings, copy your workspace's forward-in address and set your mailbox to forward customer emails to it. Replies then appear on the right account's timeline by themselves.
When Strybai can't tell which account an email belongs to, it waits in Inbox, with suggestions based on the conversation and the sender's company. One click files it.
5. Reach out
Outreach sends personal email sequences for you. Create a sequence (or start from a ready-made play), enrol the accounts you want to reach, and Strybai sends each step at a good time, within your sending hours. It stops by itself when someone replies, so nobody gets a follow-up after answering.
Before your first send, set your sender identity in Settings, so emails go out from your own domain.
6. Plan the work in Build
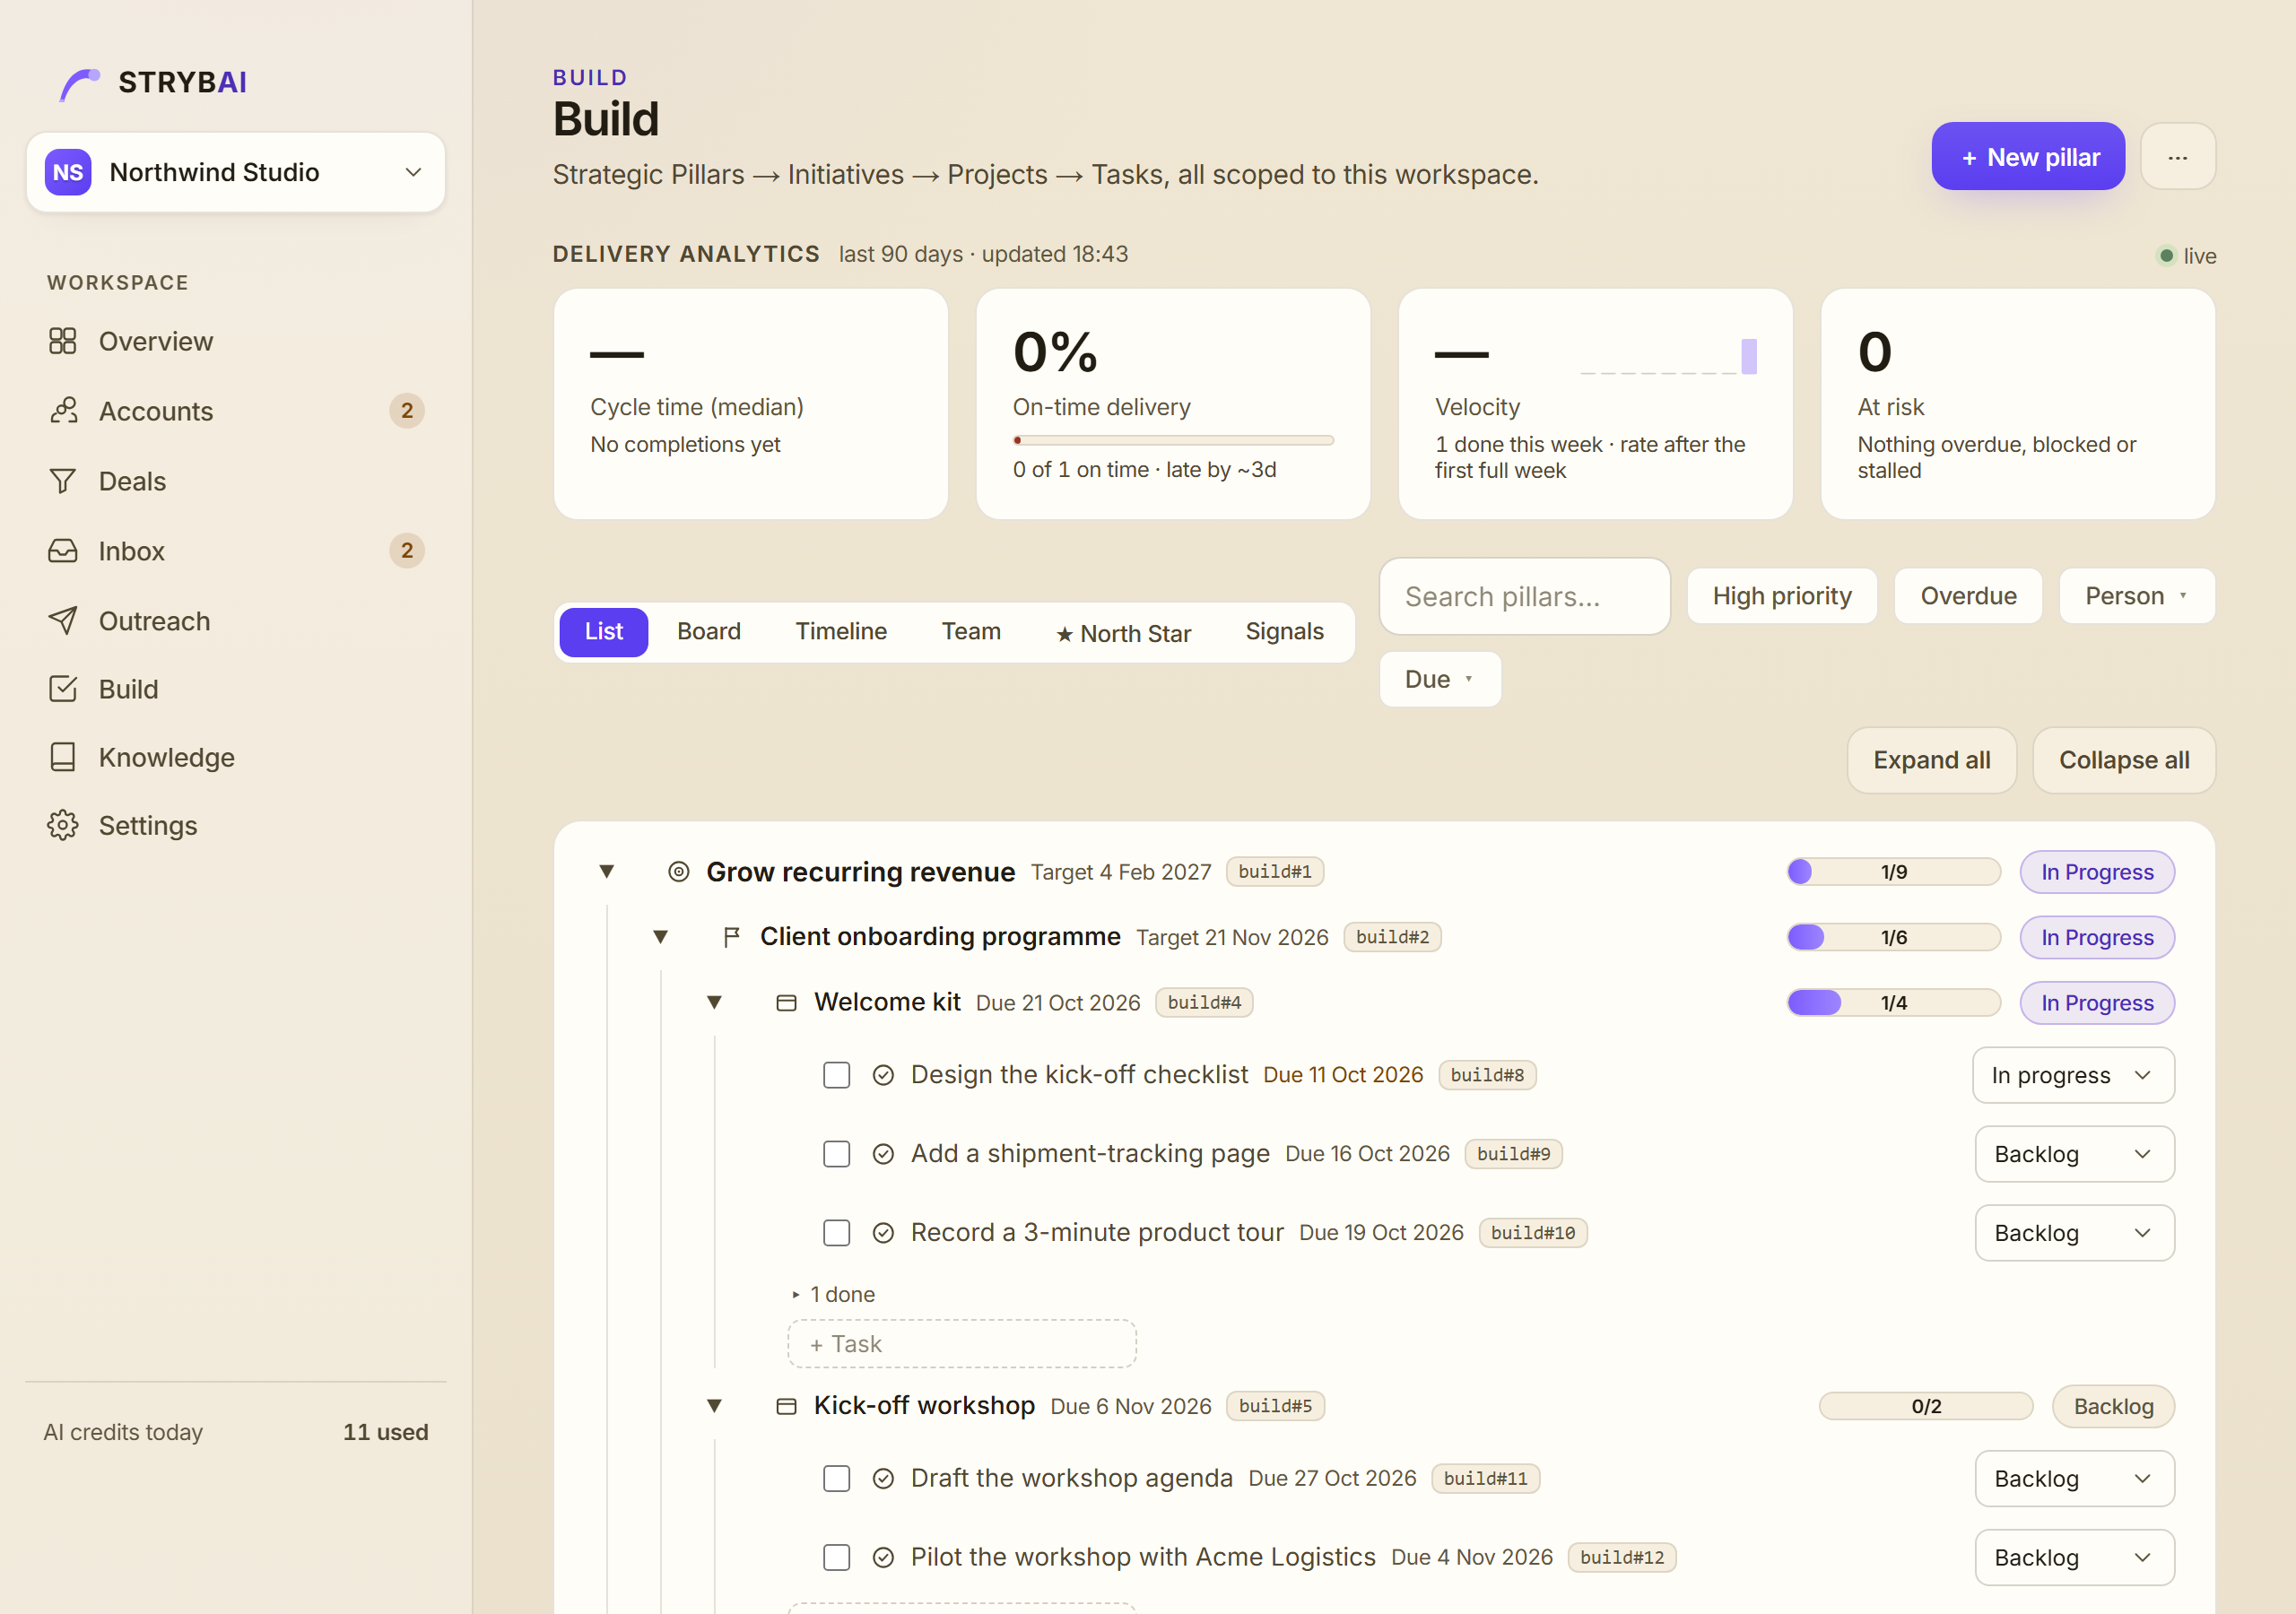
Build turns goals into work: strategic pillars, then initiatives, projects and tasks. The quickest start is Plan with AI: describe an outcome ("Launch our referral programme by March") or paste a customer's email, and Strybai drafts the whole plan. Pick where it goes, check it, and save.
Then switch between List, Board and Timeline to run it, and Team to see who's doing what. When a customer emails about work in progress, Add to Build on that email suggests which task to update.
7. Just ask
Use the Log or ask box, on an account or in Build, in plain words: log "Call with Anna, she wants the proposal by Friday", or ask "What's overdue this week?". Strybai files the note, adds the promise, or answers from your own data.
That's it
You now have your accounts, your email and your plans in one place. Questions or ideas? Write to us from strybai.com/contact. We read everything.